|

Picture from Marvel Comics
Home!

Beginner!

Picture from FLCL
Intermediate!
Tips!

Picture from Capcom
Techniques!
Picture by Kelly X
Gallery!
E-mail
me!
|
Here is the section for those who have experience
with drawing but want to add something more. This section will cover the
more advanced aspects of bringing a character to life in a drawing by
adding in certain effects like fog, more detailed backgrounds and adding
in foreground. Note that this section teaches what is the most tedious
part of drawing a character in an environment. If you do not seek to place
the character in an environment then the things taught here may be of
little help, but they will be of interest as they still go into the effects
of lighting and shadows within certain areas.
Starting out: Adding foreground.
Adding foreground is a difficult part of drawing your character at times,
and at times it is fairly simple. However, adding foreground is never
very easy. The first step to adding foreground is to determine if any
parts of the foreground are going to overlap the character (i.e. a character
standing behind a broken wall or craggy rocks). If so, you need to determine
ahead of time what parts it is going to overlap, and draw those over the
parts of the character that they cover. You may want to pipe that area
of the character when you draw them so they'll still be in your preferred
proportions, but don't actually go any further than the pipes for the
overlapped areas and erase the pipes when you start the foreground.
Lesson 1:Foreground.
Foreground is esseintially another version of background. It just adds
something to bring your character to life. The difference between foreground
and background however are the detail levels. Background doesn't always
have a huge ammount of detail but foreground always posesses a fairly
decent ammount, even if it is just a pile of rocks. This makes drawing
foreground a little tougher. To draw a foreground, I suggest deciding
ahead of time what type of foreground you are going to draw and then doing
what I said above.
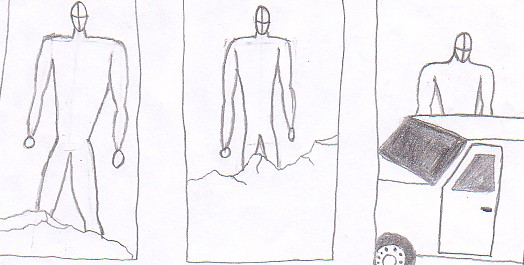
Examples of foreground: Notice the different effects it has depending
on how major it is. The first example is minor, only slight interaction.
The second is more major, covering more of the character and the third
has heavy interaction (NOTE: pictures shown in this example are quick
drawn and unfinished).
Lesson2: Fore/Background detail.
Adding detail to the foreground and background is tougher than adding
detail to characters, at least most of the time. What I suggest doing
is using a three dimensional example or a real life photograph to observe
the types of detail you can add and adding what you want. Of course you
can also (and I encourage you to do so) go out of the box and make the
details strange and otherworldy instead of realistic.
Lesson 3: Shading the fore/background and fog
effects.
This is the final shading lesson and this type of shading is the hardest
to do. Treat it much the same as a character, but because of the geometry
in the shapes, it makes it tougher to know how to shade it correctly.
The easiest way to is to look at a three dimensional object of the same
(or similar) type being hit by the light in the same way you plan to have
your character and try to study the effect of the shadows on the item.
As for adding fog and smoke effects, that is basically just taking the
broad edge of the pencil and shading across the whole picture (or the
part you want fogged) and smothing it out with your finger. However, simple
as it is to do, it can have a huge effect on the outcome and look of the
character and you should pay attention to what shadows you may have to
darken to get your desired final effect.
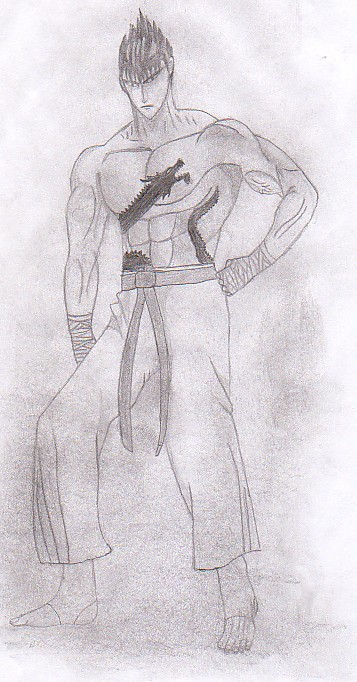
Examples of fog effects: Notice how the fog affects the look of the character.
|
